Organizing Peptide Vials: Storage, Travel, and Setup
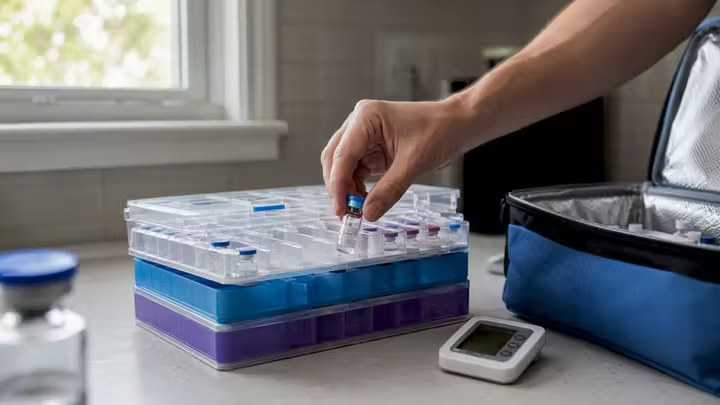
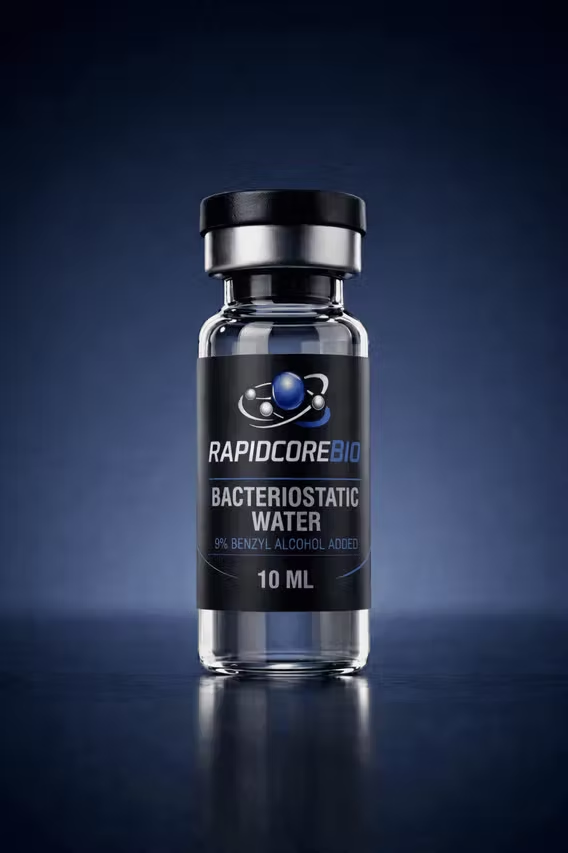
For most researchers, the right default setup is a hard-shell opaque case with a foam insert for active refrigerated vials, a separate freezer-rated case for lyophilized bulk stock, and a compact crush-resistant travel case for transit. That three-tier system covers the majority of real-world use cases without overcomplicating your workflow.
Before you buy anything, run through this short checklist:
Protection: opaque lid (light-blocking), crush-resistant shell, snug foam or molded slots that prevent vials from rolling or contacting each other
Temperature zone: confirm whether each case is rated for fridge (2–8°C), freezer (−20°C), or travel only; never freeze reconstituted vials
Labeling and protocol grouping: every vial should carry compound name, date opened, and lot/COA reference before it goes into storage
All research compounds referenced here are for laboratory research use only and are not intended for human or animal consumption.
Key Takeaways
The most reliable setup for most researchers is a hard-shell opaque case with a foam insert for active fridge storage, a freezer-rated case for lyophilized bulk stock, and a compact travel case for transit.
Point | Details |
Three-tier storage system | Use separate cases for active fridge, freezer bulk stock, and travel to prevent temperature and handling errors. |
Slot dimensions matter | Measure vial neck width and seat depth before buying; a loose slot causes glass-on-glass contact and label damage. |
Interior shelf placement | Place vial cases on an interior fridge shelf, not the door, to minimize temperature swings and light exposure. |
Label every vial before storage | Include compound name, date opened, lot number, and COA reference on each vial before it enters the case. |
Rapidcorebio hard-shell cases | The 9-vial, 3 ml hard-shell series covers active fridge and travel use cases with opaque lids and foam inserts. |
Table of Contents
What should you check when choosing a vial organizer?
Which case type fits your fridge, freezer, or travel setup?
How do you match case size to your vial formats and protocol scale?
Where should you place vial cases inside a refrigerator?
How do you build a daily labeling and workflow system?
What goes in your travel kit for peptide vials?
When does a DIY organizer actually work?
Rapidcorebio cases: which one fits your setup?
How do you keep cases clean and functional over time?
The part most researchers get wrong about vial storage
Rapidcorebio: research-grade peptides and purpose-built storage, together
Sources
What should you check when choosing a vial organizer?
The market for peptide vial storage cases ranges from precision-machined aluminum vaults to handmade fabric pouches on Etsy. That spread in quality and price means your selection criteria matter more than the brand name on the box.
Material and build: look for opaque hard-shell construction (ABS plastic, aluminum, or high-density PE) with EVA or PE foam inserts; aluminum options hold up well on refrigerated shelving and resist denting
Temperature suitability: verify the case tolerates your target range; some EVA foams become brittle below −20°C, so check the spec sheet before committing to freezer use
Slot dimensions: measure your vials first (1 ml, 3 ml, 5 ml, and 10 ml formats all have different neck widths and seat depths); a slot that’s too loose lets vials rattle and chip
Portability: compact cases that fit inside an insulated outer pouch work well for air travel; look for a low-profile design that clears carry-on size limits
Quality signals: prioritize vendors who publish batch-specific COA documentation and third-party analytical verification; COA verification is the clearest signal that a supplier takes product integrity seriously
Pro Tip: Before ordering, drop a vial into any case you’re considering and close the lid. If it rattles, the slot is too wide. A snug fit prevents glass-on-glass contact that chips septa and loosens caps.
Which case type fits your fridge, freezer, or travel setup?
Case type and use case need to match. Using the wrong format in the wrong environment is one of the most common mistakes researchers make, and it’s entirely avoidable.
Fridge (2–8°C) storage calls for a hard-shell case with an opaque lid and snug slots. The opaque shell blocks the fridge’s internal lighting, which matters for photosensitive research compounds. Purpose-built cases with foam inserts also prevent vial-on-vial contact that chips glass and loosens caps over time.
Freezer (−20°C) storage for lyophilized stock requires materials rated for sustained cold. Standard EVA foam can crack at freezer temperatures; look for PE foam inserts or cases explicitly marketed as freezer-tolerant. Precision-machined billet-aluminum vaults hold mixed vial sizes upright and handle cold well, though they carry a higher price point.
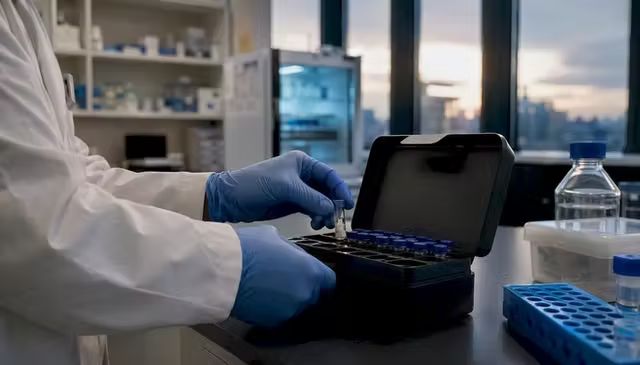
Travel and transport favor compact, crush-resistant cases sized to fit inside an insulated outer pouch with a slim ice pack. Vendors offer storage boxes in multiple capacities for 3 ml vials, with silk-lined interiors that reduce rattle during transit.
Bulk long-term storage of lyophilized stock works best with high-capacity stacked freezer cases. Keep active (reconstituted) vials physically separate from bulk stock to avoid accidentally freezing something that shouldn’t be.
Why improvised options fail: Ziploc bags offer zero light protection and no impact resistance. Tackle boxes have wrong slot geometry and brittle plastic at freezer temps. Community forum discussions consistently flag loose fridge-door storage and Ziploc bags as the most common storage mistakes researchers make.
Pro Tip: An insulated lunch pouch with a slim reusable ice pack makes a solid outer layer for travel. The case handles crush protection; the pouch handles temperature. Don’t ask one product to do both jobs.
How do you match case size to your vial formats and protocol scale?
Slot dimensions are the most overlooked spec in any peptide storage case guide. A case rated for “3 ml vials” may not fit every 3 ml format on the market because manufacturers vary on neck width and overall height.
Measure seat depth and neck width on your actual vials before ordering. Common formats to check:
1 ml: short, narrow; often used for high-concentration research compounds
3 ml: the most common format for peptide research; most purpose-built cases are sized around this
5 ml and 10 ml: taller and wider; require dedicated slots or mixed-format cases
Protocol scale drives capacity choice:
Single-compound active kit: 6–12 slots covers most single-protocol setups
Multi-compound protocol: 12–56 slots handles complex stacks with room for rotation
Bulk freezer stock: 50–100+ slots in stacked or high-capacity trays
Protocol Scale | Recommended Slot Count | Typical Format |
Single compound, active use | 6–12 | Hard-shell fridge case |
Multi-compound protocol | 12–56 | Modular or mixed-format tray |
Bulk lyophilized stock | 50–100+ | Stacked freezer inserts |
Leave at least 2–4 empty slots in any active case for rotation vials and spares. A case that’s packed to capacity forces you to handle every vial every time you pull one, which increases both handling time and ambient exposure.
Where should you place vial cases inside a refrigerator?
Refrigerator placement has a direct effect on vial stability, and most researchers don’t think about it until something goes wrong.
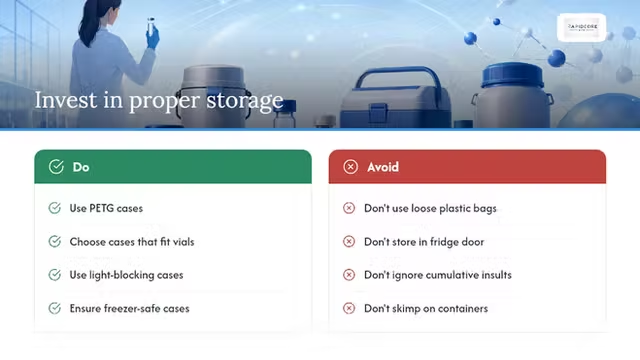
Interior shelf, not the door: door shelves experience the widest temperature swings because they’re exposed to warm air every time the fridge opens; interior shelves stay within a tighter range
Opaque case as light shield: the fridge’s internal bulb cycles on with every door opening; an opaque case blocks that exposure for photosensitive compounds
Reconstituted vials stay refrigerated: never freeze a reconstituted vial; freezing can denature the peptide structure and render the compound unusable for research purposes
Temperature monitoring: if your protocol is sensitive to excursions, a simple digital fridge thermometer or a USB data logger gives you a record of any warm cycles
The Rapidcorebio peptide stability and storage guide covers the temperature and handling parameters relevant to common research compound formats.
Pro Tip: Set your fridge thermometer at the same shelf level as your vial case, not near the door or the cooling element. The reading at the case is the only one that matters.
How do you build a daily labeling and workflow system?
Disorganized vial handling is where protocol errors actually happen. A repeatable workflow costs almost nothing to set up and pays off immediately.
Step-by-step active session workflow:
Pull only the vials you need for the current session; leave everything else sealed in the case.
Place active vials in a small secondary tray or labeled staging area while in use.
Return each vial to its designated slot immediately after use; never leave vials loose on a bench.
Log any reconstitution event (date, lot number, volume added) before closing the case.
Labeling best practices for peptide vial labeling:
Compound name (research use only)
Date opened or reconstituted
Lot number and COA reference
Color-coded band or dot for protocol grouping (one color per active protocol)
Inventory tracking doesn’t need to be complicated. A shared spreadsheet with columns for compound, lot, reconstitution date, and estimated expiry window is enough for most setups. Pairing a physical organizer with a digital log reduces the chance of pulling an expired vial or losing track of a COA reference. For reconstitution math and protocol tracking, the peptide reconstitution guide is a useful reference.
Segregate by protocol: use separate small cases or labeled foam zones within a larger case. Cross-compound confusion is a real risk when multiple protocols run simultaneously.
What goes in your travel kit for peptide vials?
Air travel with research vials requires a bit more planning than fridge-to-bench handling, but the checklist is short.
Packing checklist:
Compact crush-resistant case with snug slots (6 or 15-vial capacity covers most short trips)
Insulated outer pouch with a slim reusable ice pack
Printed or digital protocol notes and COA references
Spare caps and a small roll of label-reinforcement tape
Compact digital thermometer if storage conditions at the destination are uncertain
Step-by-step packing sequence:
Select only the vials needed for the trip duration; leave bulk stock in the freezer at home.
Place vials in the travel case, caps on, slots filled snugly.
Seal the case and place it inside the insulated pouch with the ice pack on top (cold air falls).
Pack the pouch in your carry-on, not checked luggage; cargo holds are not temperature-controlled.
At security, declare injectable research supplies if asked; carry COA documentation.
At your destination, transfer vials to a dedicated interior fridge shelf within 30 minutes of arrival.
TSA guidance for injectable supplies applies here. Keep documentation accessible and label the travel kit clearly.
When does a DIY organizer actually work?
Improvised solutions have a place, but it’s narrower than most researchers assume.
Tackle boxes: wrong slot geometry, brittle plastic at freezer temps, zero light blocking
Pill organizers: too small for most vial formats, no crush resistance
Ziploc bags: no structure, no light protection, vials contact each other freely
DIY is acceptable for short-term, low-cost testing or when you need a custom slot spacing that no commercial product offers. If you go that route, use opaque materials and verify that any foam or plastic tolerates your target temperature range.
3D-printed inserts are a legitimate option when the filament and design are chosen carefully. PETG and ASA tolerate fridge and freezer temperatures better than PLA, which can become brittle with repeated cold cycling. A community 3D-printed vial organizer design is available for researchers who want a custom-fit tray, shared under a Creative Commons BY-SA 4.0 license. Verify that the printed finish won’t abrade labels or damage septa before committing.
Pro Tip: If your vials are high-value, photosensitive, or frequently handled, skip the DIY route entirely. The cost difference between a purpose-built case and a reprinted tray is small; the risk difference is not.
Rapidcorebio cases: which one fits your setup?
Rapidcorebio’s hard-shell peptide case series is designed around the 3 ml vial format, which covers the majority of research compound configurations. Each case holds 9 vials in a foam insert with an opaque lid, making it a direct fit for the fridge and travel use cases described above.
Black hard-shell case: 9-vial capacity, opaque shell, foam insert; solid choice for active fridge storage
Blue hard-shell case: same specs; color-coding by protocol is a practical use for the color variants
Pink product and purple product variants: useful for visual protocol segregation when running multiple compounds simultaneously
All Rapidcorebio cases pair with the brand’s COA verification resources, so you can confirm batch-specific analytical data alongside your physical storage setup. For researchers who want to verify research-grade peptide quality before committing to a storage system, that documentation is the right starting point.
Pro Tip: Use different case colors for different active protocols. It takes two seconds to grab the right case by color and eliminates the risk of pulling the wrong vial during a busy session.
How do you keep cases clean and functional over time?
Cases and inserts degrade if you ignore them, and a degraded insert is worse than no insert because it gives false confidence.
Cleaning: wipe the exterior with a mild detergent solution; remove foam inserts and air them out separately; avoid alcohol-based solvents on foam, which can break down the cell structure and cause crumbling
Inspection checklist: check slot compression (foam should spring back after you remove a vial), lid seal integrity, and latch function every few weeks during active use
Replace inserts that crack, compress permanently, or lose resiliency; a flat insert no longer holds vials snugly and allows the same rattle damage as no insert at all
Between protocols: store empty cases in a cool, dry location away from direct sunlight; freezer-rated inserts can stay in long-term storage alongside lyophilized vials without issue
The part most researchers get wrong about vial storage
The conventional advice on organizing peptide vials focuses almost entirely on temperature: keep it cold, don’t freeze reconstituted vials, use a fridge thermometer. That’s all correct, but it misses the more common failure mode, which is physical handling during daily use.
Most vial degradation in a research setting doesn’t happen because the fridge ran warm overnight. It happens because vials are pulled out, left on a bench while the researcher finds what they need, returned to the wrong slot, or stored loose in a bag between sessions. The temperature was fine. The organization wasn’t.
The two-tier system (freezer bulk, active fridge case) solves the temperature piece. What actually protects your compounds day-to-day is a workflow that minimizes the time vials spend outside their case and a labeling system that makes it impossible to grab the wrong one. Color-coded cases by protocol, a staging tray for active-session vials, and a 30-second log entry after each use: that’s the real playbook. The case is just the container. The workflow is what keeps the compounds intact.
Rapidcorebio: research-grade peptides and purpose-built storage, together
Researchers who take compound integrity seriously shouldn’t have to source their peptides from one place and their storage cases from another, then hope the two are compatible. Rapidcorebio offers both: research-grade peptides with batch-specific HPLC and mass spectrometry verification, alongside the hard-shell 3 ml case series described throughout this guide.
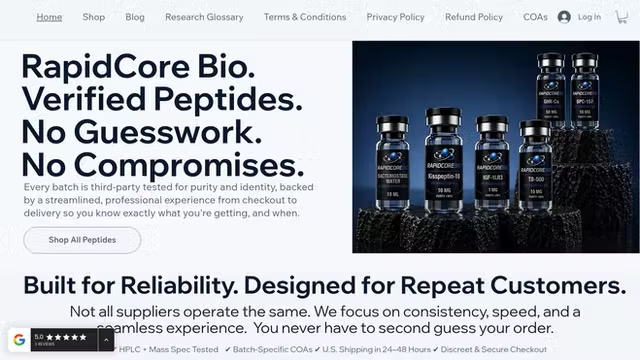
Every batch ships with COA documentation you can verify independently. The cases are sized for the same 3 ml vial format Rapidcorebio distributes, so the fit is confirmed, not guessed. For researchers who want to close the loop between compound quality and physical storage integrity, the COA verification page is the right next stop before placing an order.
All products are for laboratory research use only and are not intended for human or animal consumption.
This article is general information, not a substitute for advice from a qualified doctor. Consult a qualified healthcare professional about your own circumstances before acting on anything here.
Sources
Peptide vial Organizers by curmudgeon